Incubating Chicken Eggs
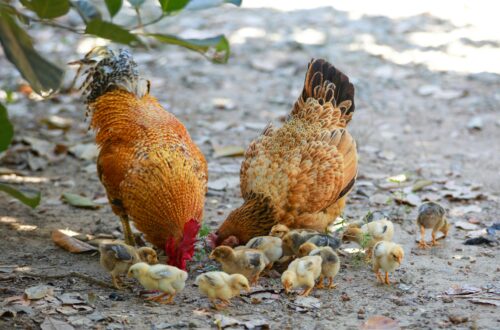
Every homestead needs chickens, but what to do if you don’t have a local source, or maybe you want a harder to acquire breed. this is where incubating can come in handy. Incubating chicken eggs is a delicate process that requires careful attention to temperature, humidity, and turning of the eggs. Here’s a general guide on incubating chicken eggs:
How to
- Selecting Eggs: Choose fresh, fertile eggs from healthy hens. Eggs should be clean and free from cracks or defects.
- Storage: If you’re not going to incubate the eggs immediately, store them in a cool (around 10-15°C), humid environment with the pointed end down. Avoid refrigeration, as it can affect hatchability.
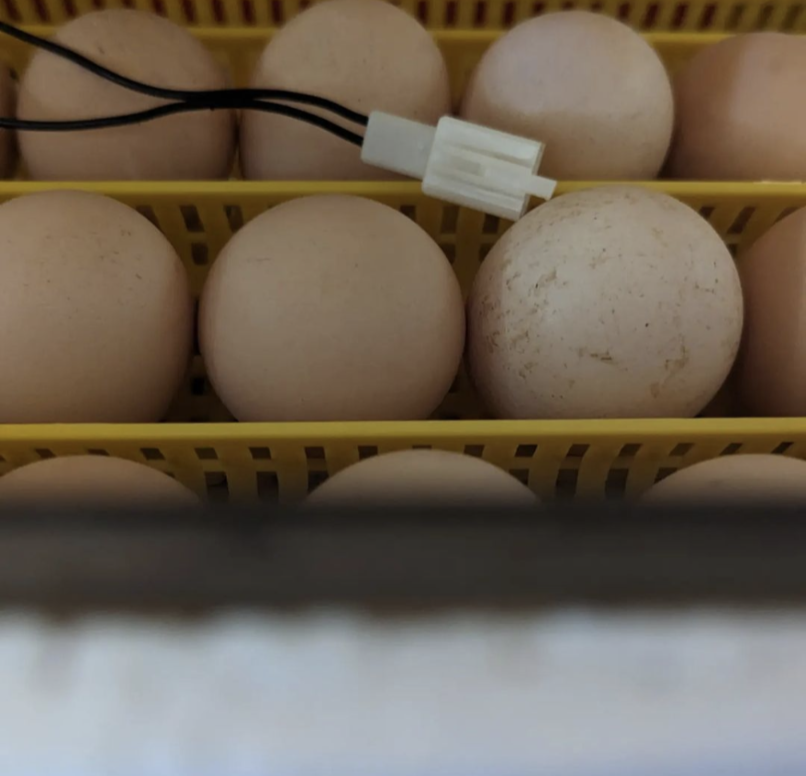
- Setting up the Incubator: Set up your incubator according to the manufacturer’s instructions. Make sure it’s clean and functioning properly before adding eggs.
- Temperature Control: Maintain a consistent temperature throughout the incubation period. For chicken eggs, the optimal temperature is around 37.5°C. Invest in a reliable thermometer to monitor the temperature regularly.
- Humidity Control: Humidity is crucial for proper egg development. During the first 18 days, maintain humidity levels around 45-55%. In the final 3 days, increase humidity to around 65-75% to help with hatching. You can achieve this by adding water to the incubator’s water channels or trays.
- Egg Turning: Eggs should be turned regularly to prevent the embryos from sticking to the shell. Turn the eggs at least three times a day, preferably every 8 hours. Most modern incubators have automatic turning mechanisms, but if yours doesn’t, you’ll need to turn them manually.
- Candling: Candling involves shining a bright light through the egg to check for signs of development. You can typically start candling around day 7-10 of incubation. Remove the egg from the incubator, darken the room, and shine a flashlight through the egg. Look for veins and a developing embryo. Remove any eggs that are infertile or show signs of early spoilage.
- Lockdown: Around day 18, stop turning the eggs and increase humidity to prepare for hatching. This period is known as “lockdown.” Keep the incubator closed as much as possible to maintain the right conditions.
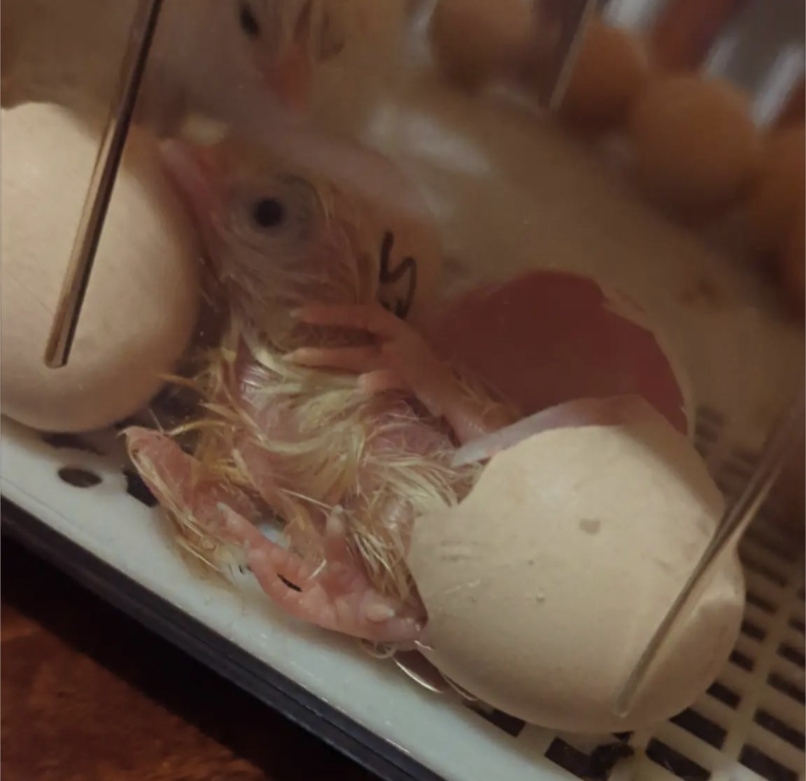
- Hatching: Chicken eggs typically hatch around day 21. You may notice pipping (small cracks) in the eggshell as the chick starts to hatch. Avoid assisting the chick unless absolutely necessary, as interfering can cause harm. Allow the chick to hatch naturally.
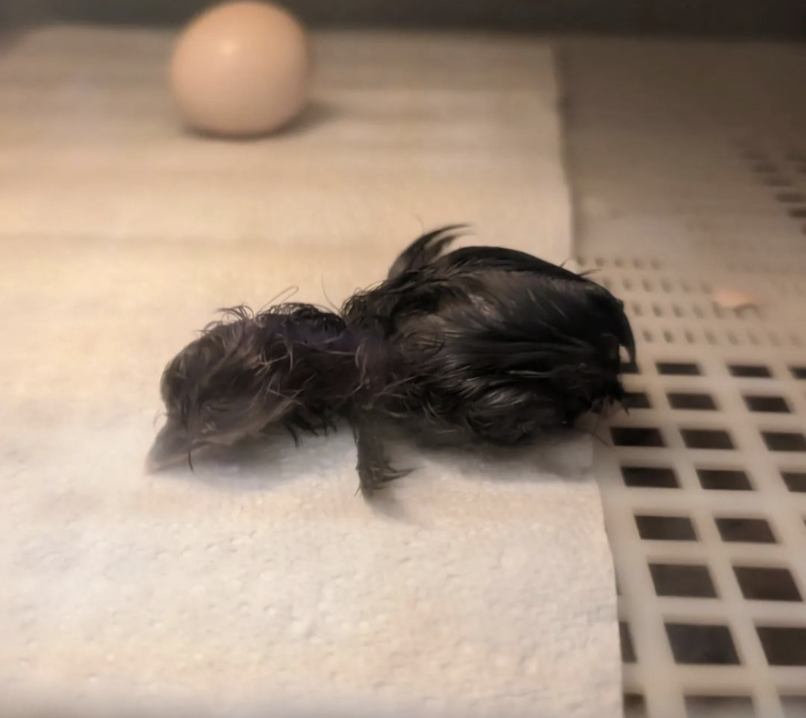
- Post-Hatch Care: Once the chicks have hatched, transfer them to a brooder with a heat source, clean bedding, and access to food and water. Monitor their health closely during the first few days.
- Optional: While not necessary, some people gently dip the chick’s beak into the water when they first arrive in their new environment. This can help them understand where the water is, although most chicks will figure it out on their own.
Issues
- Infertility: If eggs are not fertilized, they won’t develop into chicks. Candling the eggs after a week or so of incubation can help identify infertility.
- Temperature Fluctuations: Inconsistent temperature levels in the incubator can lead to poor hatch rates or developmental abnormalities. It’s crucial to maintain a stable temperature throughout the incubation period.
- Humidity Fluctuations: Fluctuations in humidity levels, especially during the last few days of incubation, can cause problems with chick development or hatching. Keeping humidity levels consistent is essential.
- Poor Egg Handling: Rough handling of eggs, especially during turning or candling, can damage the developing embryos. It’s important to handle eggs gently and carefully throughout the incubation process.
- Inadequate Ventilation: Poor ventilation in the incubator can lead to a buildup of carbon dioxide and other gases, which can harm developing embryos. Ensure that the incubator has proper ventilation to maintain air quality.
- Bacterial Contamination: Dirty or contaminated eggs can harbor bacteria that can infect developing embryos. It’s crucial to start with clean, fresh eggs and maintain cleanliness throughout the incubation process.
- Late or Early Hatching: Chicks that hatch too early or too late may have difficulty surviving. Late hatching can result from temperature or humidity fluctuations, while early hatching may indicate that conditions were too warm.
- Malpositioned Chicks: Chicks that are not positioned properly in the egg during hatching may have difficulty hatching or may hatch with physical deformities.
- Weak or Unhealthy Chicks: Some chicks may hatch weak or unhealthy due to genetic factors, poor egg quality, or suboptimal incubation conditions.
- Pipped But Not Hatched: Sometimes, chicks will pip (make a small hole in the eggshell) but fail to hatch completely. This can be due to various factors, including dehydration, inadequate humidity levels, or physical abnormalities.
To minimize these issues when incubating chicken eggs, it’s essential to carefully monitor and maintain incubation conditions, handle eggs with care, and address any problems promptly. Additionally, selecting high-quality eggs from healthy breeding stock can improve hatch rates and the overall health of the chicks.
If you would like to read more about chickens head here.

You May Also Like