IBC Worm farm
For as long as I’ve gardened, I’ve always had a worm farm, something my parents also had for their gardens. They used an old wheelie bin converted into a multi-tier worm farm.
They put a tap on the bottom tier, then placed two or three milk crates wrapped in mesh inside. The process starts with the bottom crate: you add your worm colony and organic scraps (food, lawn clippings, garden waste, etc.). The worms eat the scraps and convert them into castings, which you can use on your garden. A liquid byproduct also forms, which you can use as a liquid feed for your plants.
When the first crate is full, you put the next one on top and start adding organic matter there. The worms come to the surface to feed, moving from the first crate to the second. When you reach the last crate, you remove the lower crates after a week of feeding in the top crate, which then becomes the bottom crate.
The process of owning and breeding worms is called vermiculture and the process of using worms to compost is called vermicomposting, but for simplicity we just call them worm farms.
When I first focused on self-sufficiency, I started buying worm farms (called worm cafes) from Bunnings. At the time, they came in a round design. During the peak of my gardening on my urban block in NSW, I had six worm cafes running. When we relocated to South Australia, I gifted them to neighbors and friends because of SA’s biosecurity rules. I didn’t want to risk bringing them over and getting stopped at the border. After we settled in, I bought a new, more modern rectangle design. The cost had increased significantly from $60 to $99, not including the cost of the worms. See here.

After a year I wanted to expand the colony but I didn’t really want to spend $100 each time and continue having lots of little units floating around the house so I did some research and found other people have used IBC containers for worm farms.
So Lanky and the kids decided to make me one if you would like to see the video on how to do it head here. Otherwise here is the written instructions.
Materials Needed:
- IBC container
- Tools for cutting metal and plastic
- Small drill bit (2-3mm)
- Shade cloth (70% block out recommended)
- Paint
Instructions:
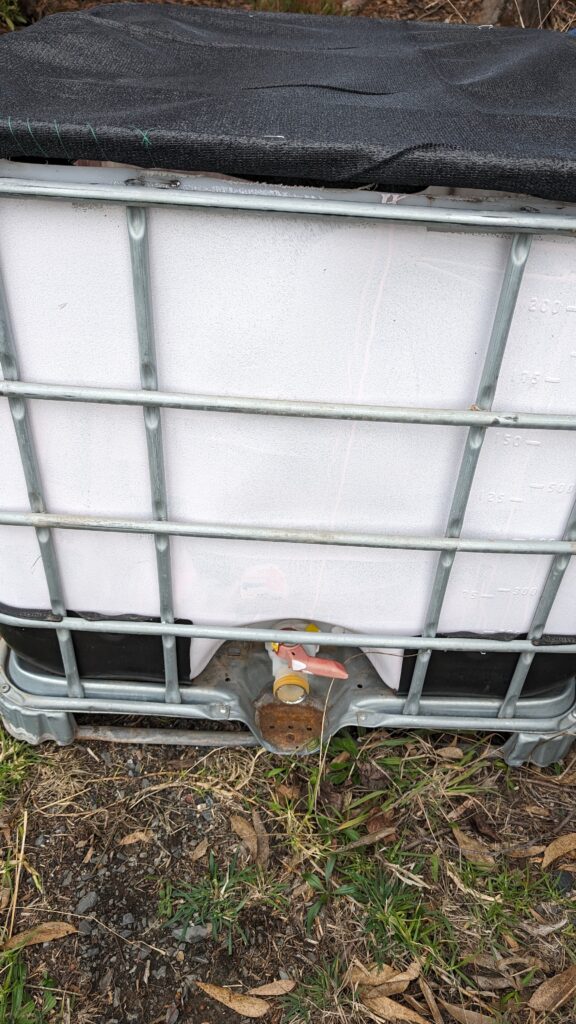
- Prepare the IBC Container:
- Cut the metal and plastic top off the IBC container just above the second rung.
- Separate the metal and plastic top from the base.
- Drill Holes:
- Drill lots of small holes in the plastic top.
- Create an Indentation:
- Cut an indentation into the side of the plastic top so it fits around the drain tap when placed inside the bottom of the IBC.
- Trim the Metal:
- Trim the top metal part of its “legs.”
- Paint the Bottom Tub:
- Paint the bottom plastic IBC tub.
- Once the paint is dry, place the bottom tub back into the metal frame.
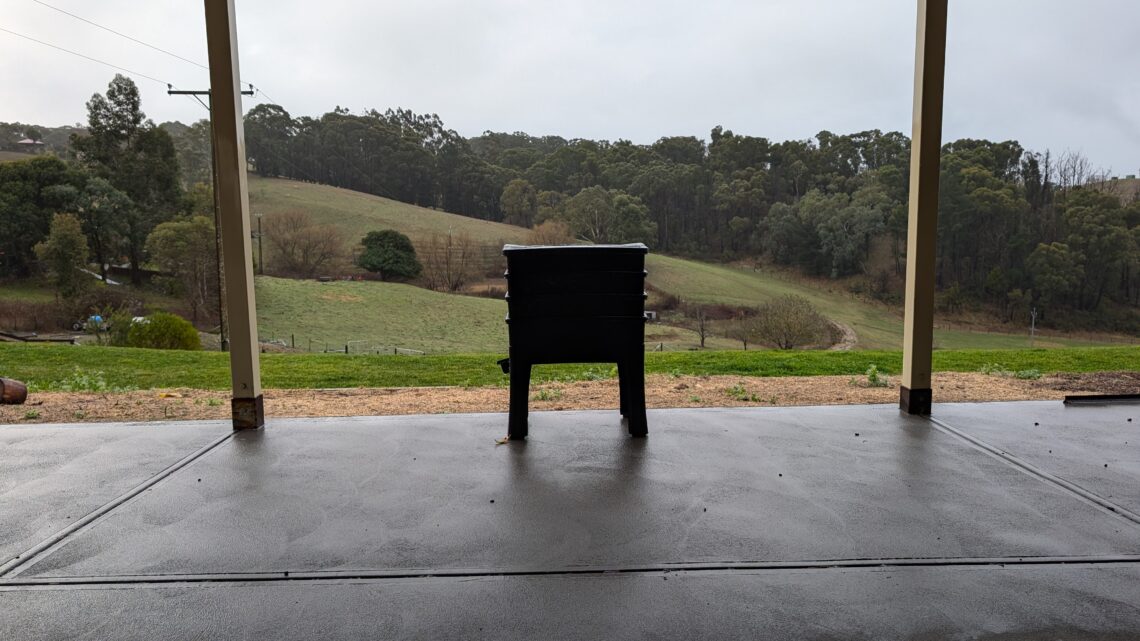
- Assemble the Worm Farm:
- Push the plastic top with holes into the larger bottom tub, creating two levels.
- Add Shade Cloth:
- Cover the top metal part with shade cloth to create a lid.
- Put a layer of shade cloth inside the worm farm.
- Secure the Lid:
- Place a brick on top of the metal lid to prevent it from blowing off in the wind.
Your worm farm is now ready to use!